How to Cancel or Remove or Modify the Visual Studio 2019 Installation
Updated on: February 24, 2021
How to Cancel the installation of Visual Studio 2019 Installer:
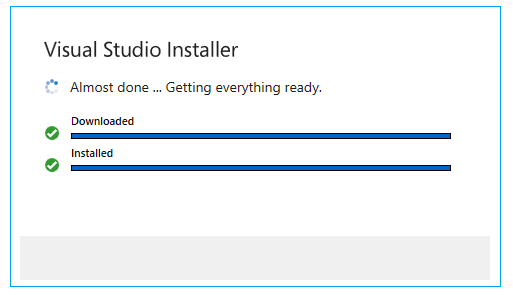
- When you downloaded the installer from https://visualstudio.microsoft.com/ , and double clicked on Visual studio installation .exe file, it will automatically start downloading the required files of Visual Studio Installer and install it automatically as shown below :
- It will later asks you to choose the installation options
- Once the download & installation gets start, it will show following screen
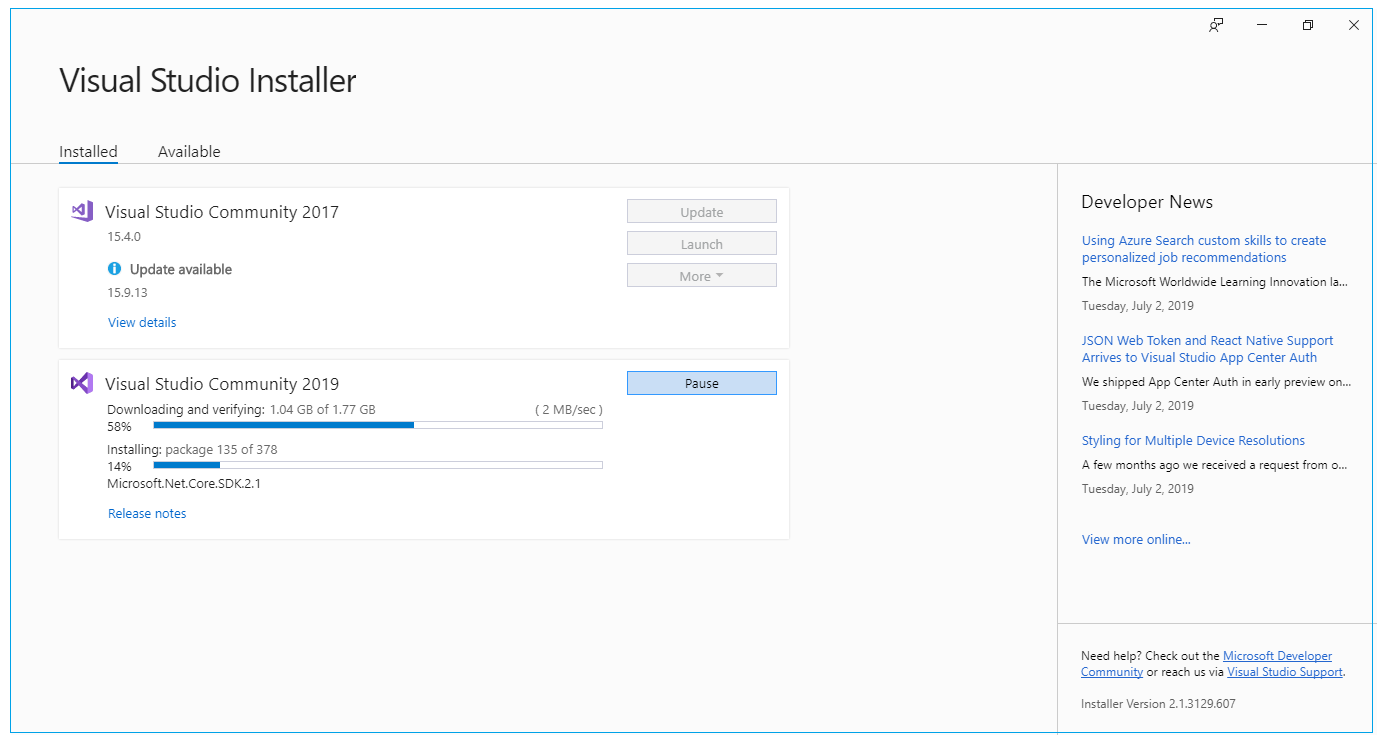
- Now you decide to stop or cancel the installation, then you can click on "Pause" button to stop the installation of Visual Studio 2019
- You need to wait until "Pause Operation" gets completed, once Pause Operation is completed, it will start creating "Windows Restore Point", you need to wait for few minutes to get these two operation completed

- Once these two operation is completed, it will ask you options such as "Resume", "Modify", "More=>Remove" options, as shown below:
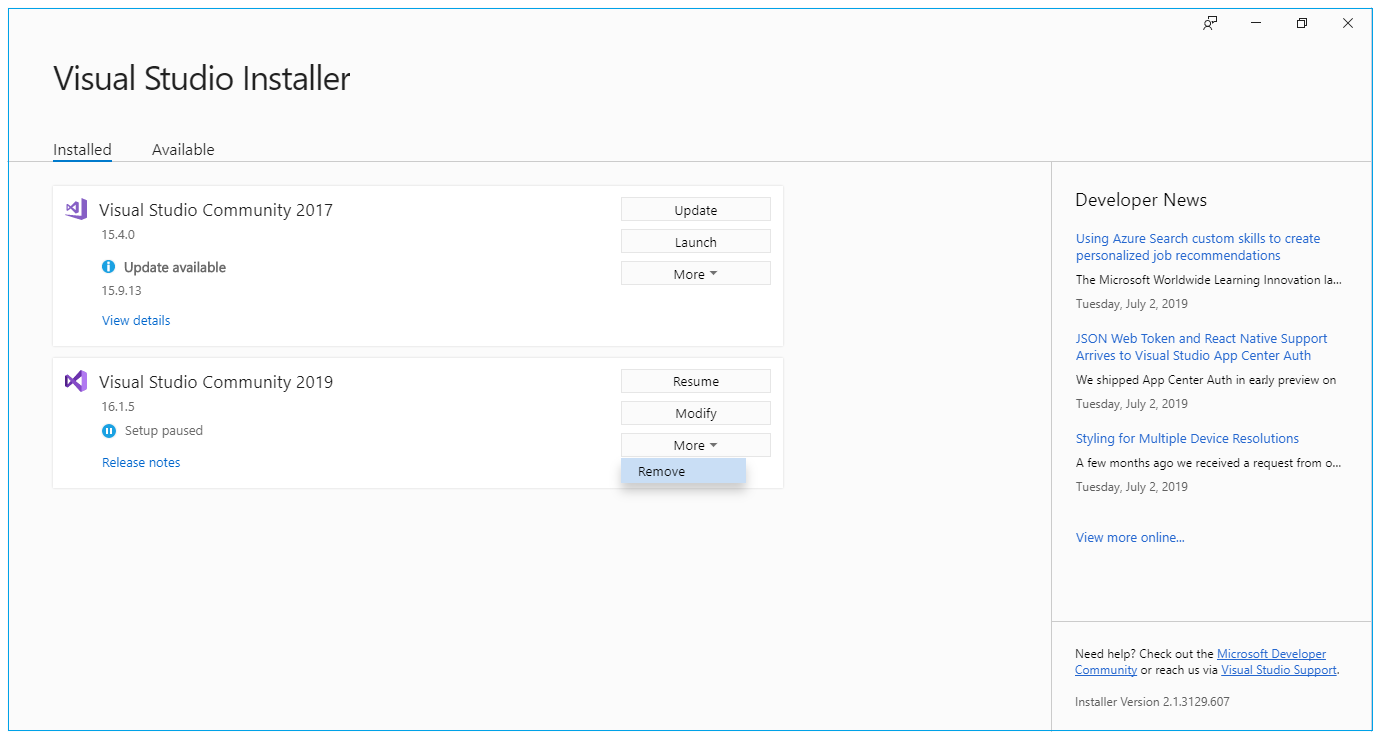
- You can click on "More"=>"Remove" option to Cancel or Remove the installation of Visual Studio 2019.
How to Modify the Visual Studio 2019 Installation:
- If you want to modify the installation or you want to add/remove any additional component, which you missed to add/remove before starting installation, then you can click on "Modify" button from the above screen, and select / deselect whichever option you want and then click on "Modify" button at the bottom.
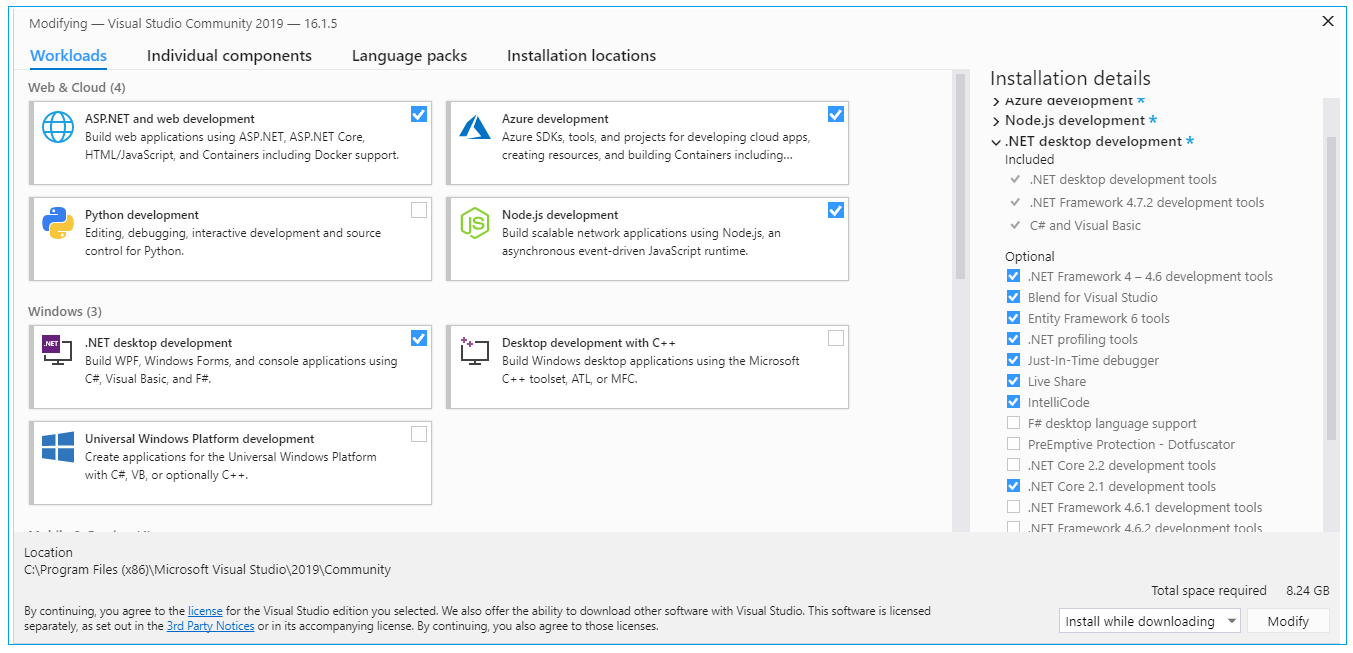
- After modification, it will automatically start downloading the tools and install it.