How to Install and Remove Extensions on Chrome Browser on Desktop
How to Add and Remove Extensions on Chrome Browser:
Following are the difference steps to Install Extensions or Add Extensions on Chrome Browser:
1. Open the chrome browser
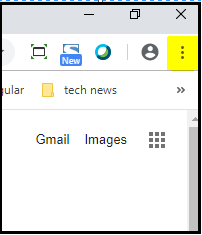
2. On the top right corner, click on three dots icon as shown in below image (highlighted in yellow):
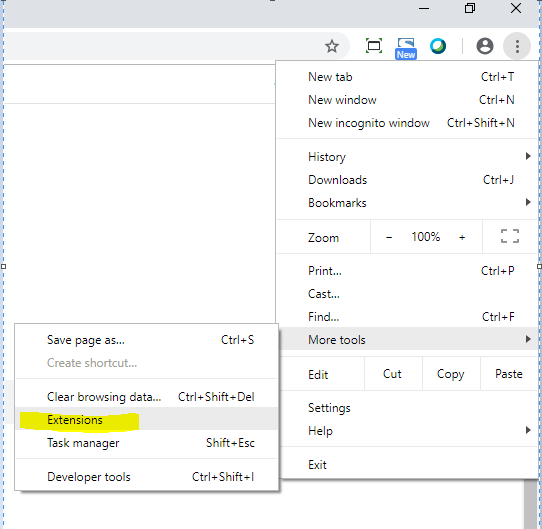
3. Click on "More tools" option in the menu opened after clicking on three dots from above step.
4. Click on "Extensions" menu as shown in below image :
5. Click on "Extensions" icon shown on left top corner as shown in below image:
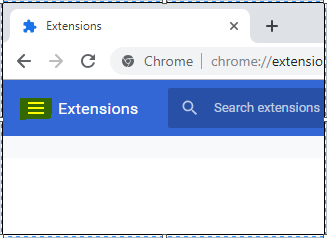
6. Click on "Open Chrome Web Store" menu
7. Search for extensions you want to add to Chrome browser, In this example, I have searched for "adobe"
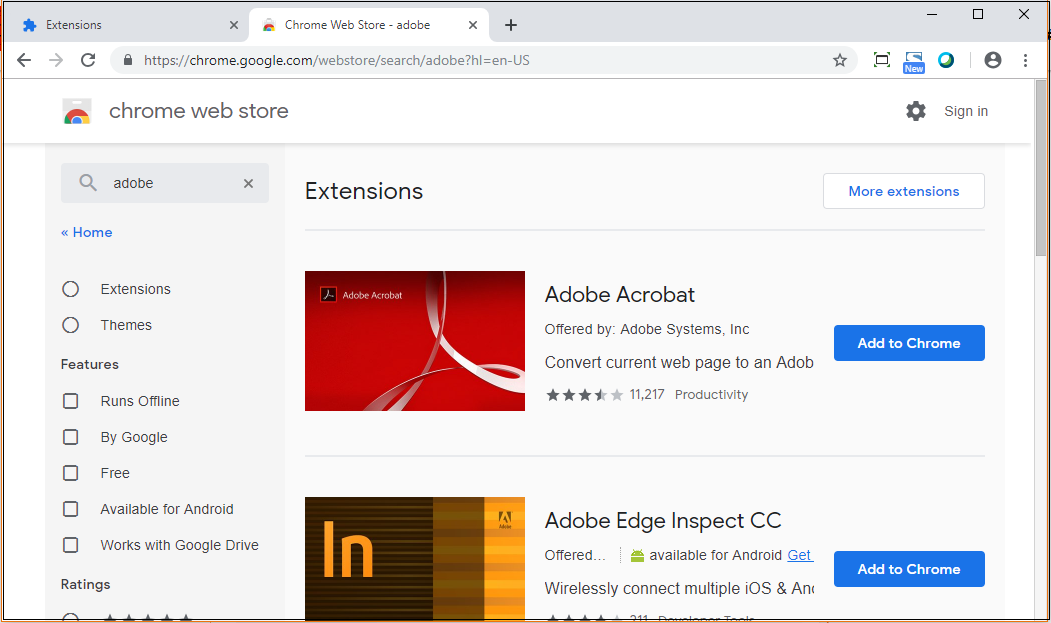
8. Now, Click on "Add to Chrome" button of the extension you want to add to Chrome. For this example, I am selecting Adobe Acrobat extension offered by Adobe Systems, Inc which is first result appeared in search result.
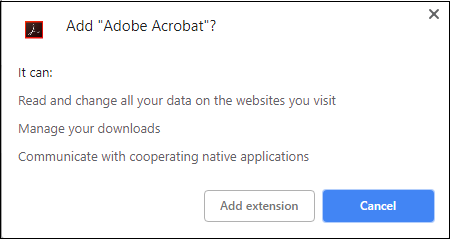
9. Click on Add extension button from the confirm dialog as shown below:
10. Wait till the Extension is getting added to chrome
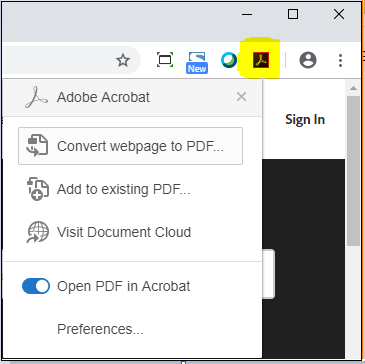
11. Once the Extension is added to Chrome, it will start appearing on top right as shown below:
So, this way we have successfully added Extensions to Chrome Browser. Now we will look for how to remove Extensions from Chrome:
1. Right click on a Extension, you want to remove as shown below:
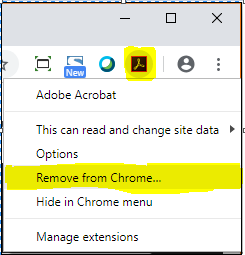
2. Click on "Remove from Chrome", In this example, we are removing "Adobe Acrobat PDF Extensions"
3. After confirming to "Remove", it will get removed from Chrome as Extension.