GlassFish Server 4.1.1, deploy, Connection refused: connect, false The module has not been deployed Error
After trying so many options to fix the "GlassFish Server 4.1.1, deploy, Connection refused: connect, false. C:\Users\loggedInUser\Documents\NetBeansProject\project1\nbproject\build-impl.xml:1045: The module has not been deployed." error, we have found out the solution or workaround to get the project compiled successfully.
We could not fix this issue with GlassFish Server 4.1.1 version, but we found another alternative to fix this issue. We have used GlassFish Server Version 5 to fix this issue, as after trying many alternatives we were not able to fix this issue, so we tried using GlassFish Server version 5 and it worked fine. Following the following steps to remove GlassFish Server 4.1.1 and add GlassFish Server 5 version.
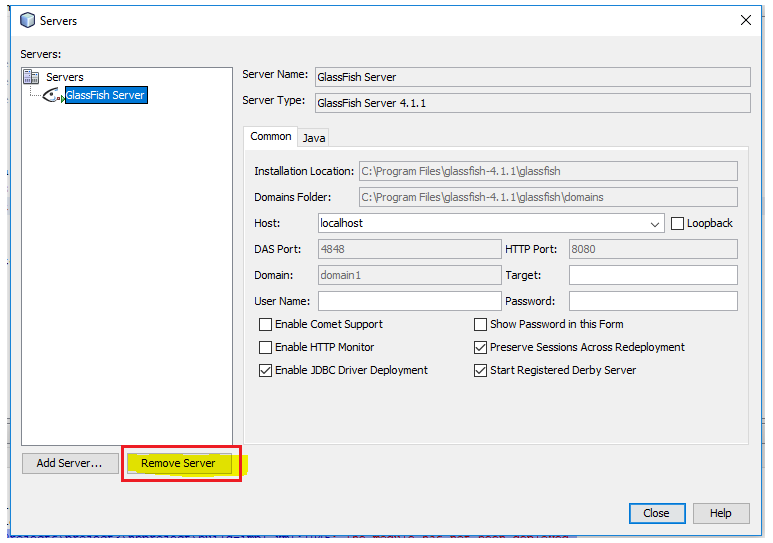
1.) First, Remove GlassFish Server 4.1.1 as shown below, to do so open NetBeans IDE and go to Tools=>Servers option, it will open following popup and then select the server from left area and click on Remove Server button to remove Glassfish Server 4.1.1
2.) Now, Download the glassfish server 5 from https://javaee.github.io/
3.) Now, Open NetBeans IDE in Administrator mode, if not already opened.
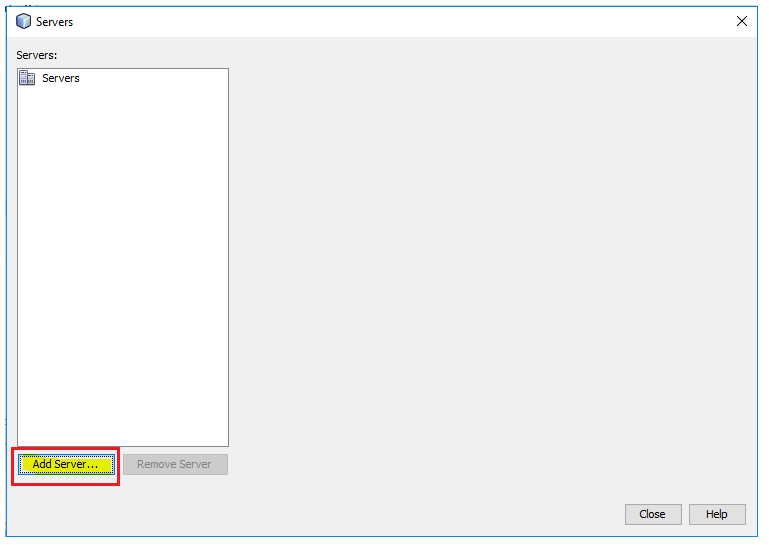
4.) Go to Tools=>Servers & Click on Add Server... Button as shown below:
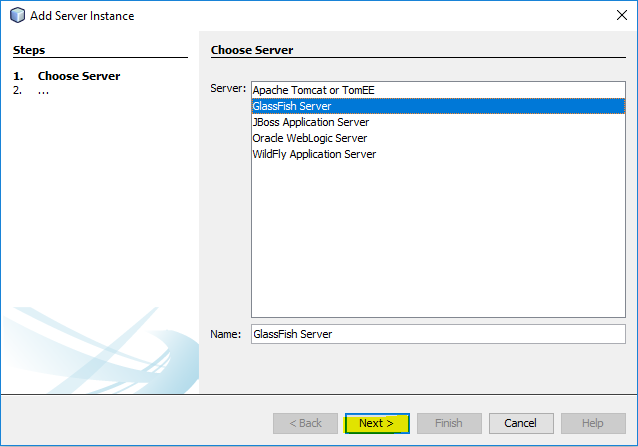
5.) In the Add Server Instance option, select the server as "GlassFish Server" and click on "Next >" button as shown below:
6.) Let "Local Domain" as selected and then click on "Next" button after selecting a path where you have copied "GlassFish 5", it will show message as "Detected a GlassFish Server 5.
7.) Keep Target, User Name & Password fields blank and click on "Finish" button as shown below:

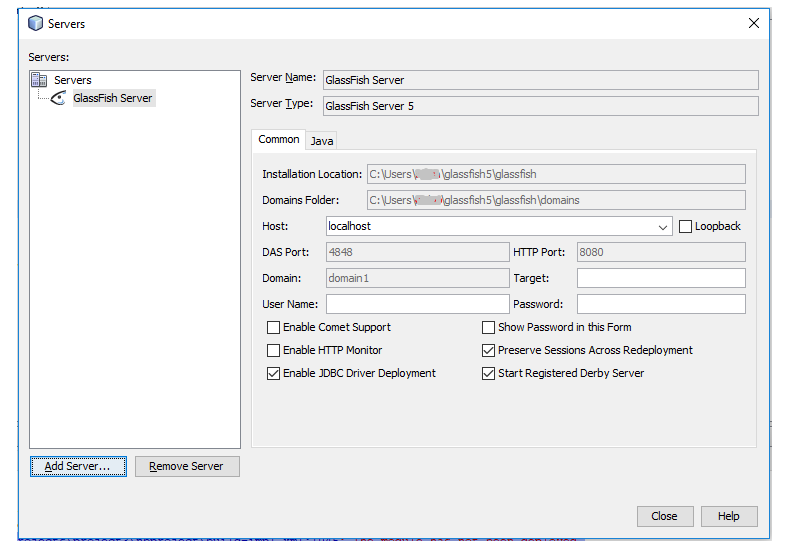
8.) Wait until it will add the server and then click on Close button, as shown below:
9. ) Now run the project, It will show the following output when build is successful:
In-place deployment at C:\Users\loggedInUser\Documents\
run-deploy:
Browsing: http://localhost:8080/project1
run-display-browser:
run:
BUILD SUCCESSFUL (total time: 42 seconds)
10. ) After following above fix, we were able to solve our issue. You can try this quick fix.