Auto save Screenshot to OneDrive on Windows
Updated on: June 10, 2021
Following are the steps to add or remove the auto save Screenshot feature from Microsoft Windows 10 Desktop Operating System. Please follow the below steps to activate or deactivate this feature:
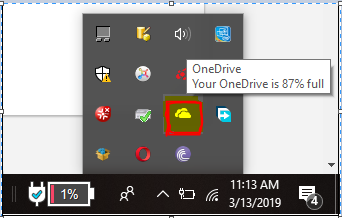
1. On the Windows Taskbar, look for OneDrive option as shown in below image:
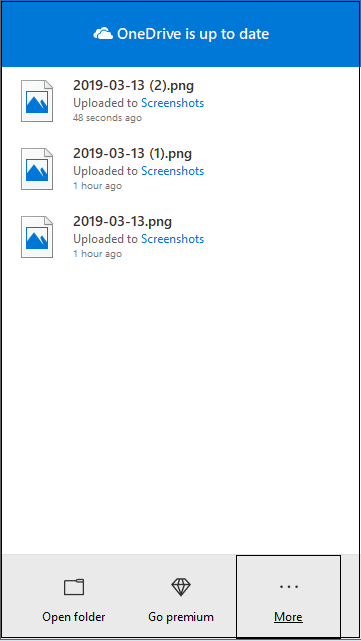
2. Click on OneDrive icon, it will open menu as shown below:
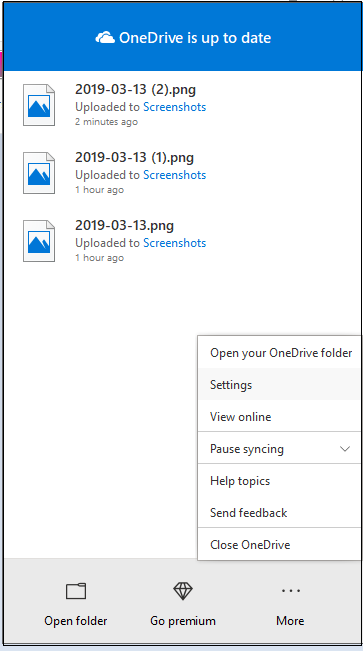
3. Click on "More" option, click on "Settings" option as shown below:
4. From Microsoft OneDrive Settings, click on "Auto Save" tab, as shown below:
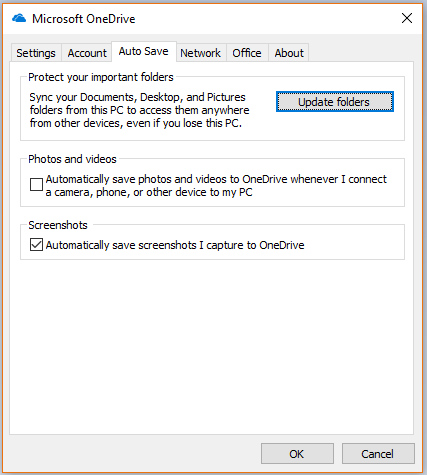
5. Deselect "Automatically save screenshots I capture to OneDrive" option from Screenshots panel if you want to remove auto save screenshot option, or Select it if you want to enable auto save Screenshot.
6. Click on "OK" button to apply the changes.