ASP.NET Core Windows Search Services & Indexing Options in Windows 10
Prior to IIS 7, there was Indexing Services which we used to install from Windows Features, but on Windows 10 machine, it has IIS 10 installed, so Indexing Services feature is not available on Windows 10 machine. So if your code was using Indexing Services, then you will have to modify the code to work with Windows 10 Search Services. Following is the way you can
Following are the steps to show Indexing Option result on ASP.NET Core / MVC web page using C Sharp (C#):
1. You can search for "Windows Search Service" in Windows Feature in "Add or Remove Programs" and install it, If it is already installed, then you will either find this item checked or missing from Windows Feature list.
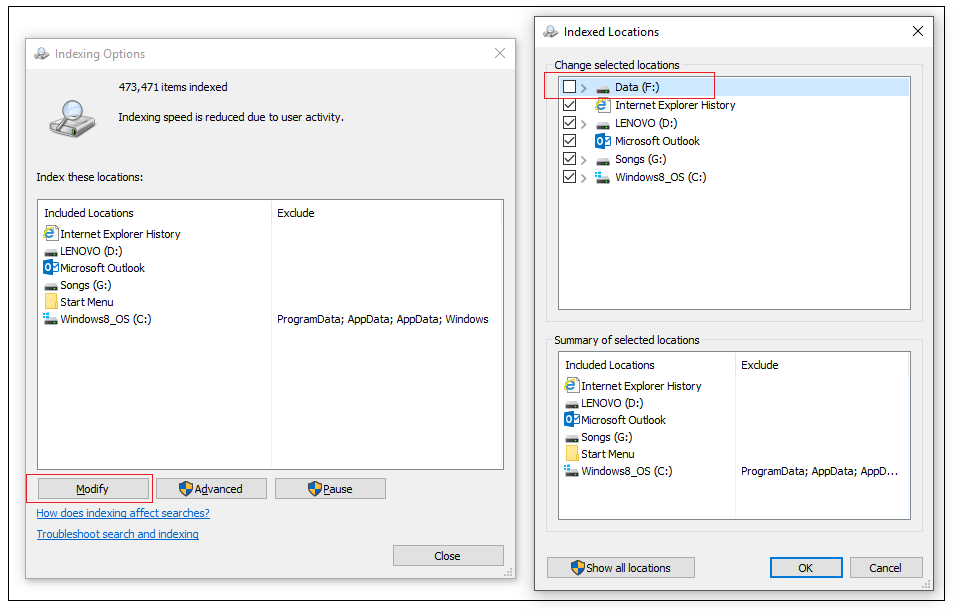
2. You can click on Start menu and search for "Indexing Options" and open it.
3. You can click on Modify button to modify the Indexed Locations and save the changes. You can see from the below two popups, one is "Indexing Options" popup and other one is "Indexed Locations" popup. Make sure you are selecting all the locations which you wan to get it Indexed and appear in your search result.
4. Open Visual Studio and Create new ASP.NET Core Project
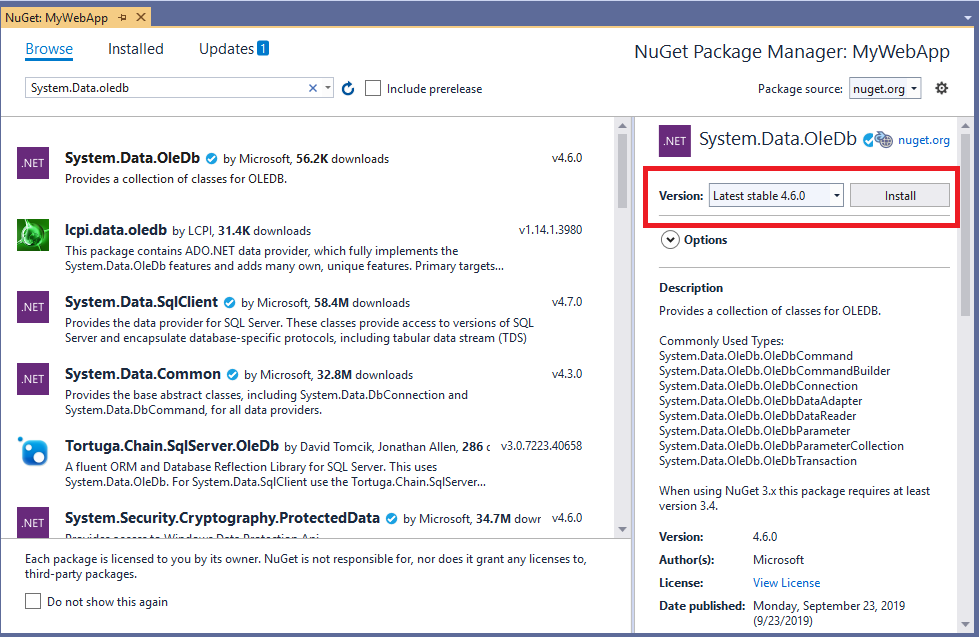
5. Install the "System.Data.OleDb" NuGet package from NuGet Package Manager as shown below:
6. Write the below code to search for Indexed locations using oledb:
string strQuery = "SELECT System.ItemName, System.FileDescription, System.DateModified FROM SystemIndex " +
@"WHERE directory = 'file:F:/' AND System.Itemname LIKE '%e%' ";
OleDbConnection Connection = new OleDbConnection(@"Provider=Search.CollatorDSO;Extended Properties=""Application=Windows""");
Connection.Open();
OleDbCommand da = new OleDbCommand(strQuery, Connection); using (var r = da.ExecuteReader())
{
while (r.Read())
{
IndexedModel model = new IndexedModel();
model.ItemName = r[0]?.ToString();
model.FileDescription = r[1]?.ToString();
model.DateModified = r[2]?.ToString();
IndexedResult.Add(model);
}
}
Connection.Close();
7. Below is the sample code to show the Indexed Search Result:
@foreach (var indexModel in Model.IndexedResult)
{
<p>
<div>@indexModel.ItemName</div>
<div>@indexModel.FileDescription</div>
<div>@indexModel.DateModified</div>
</p>
}
8. If your search result doesn't have any files or directories found, then you can recheck whether the location is selected to be Indexed in "Indexing Options".
You can refer https://docs.microsoft.com/en-us/windows/win32/properties/core-bumper for properties to be mentioned in select query and display it on the web page.